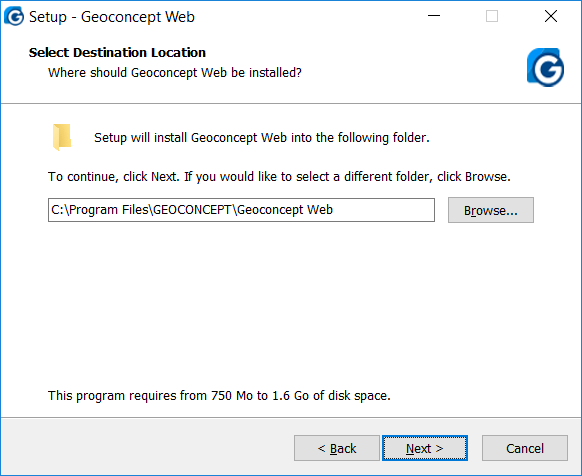
The next step requires you to define the destination disk location for the files to install. The installer proposes a default destination folder that can be modified by clicking on the .
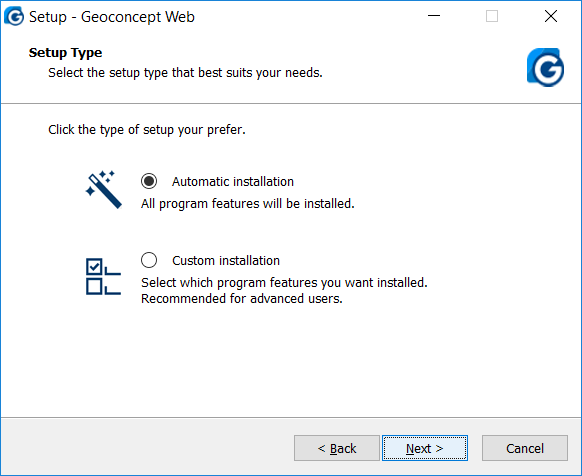
The next step is to select the type of installation to perform.
There are two possible choices:
- Automatic installation: the application components will be installed with default parameters.
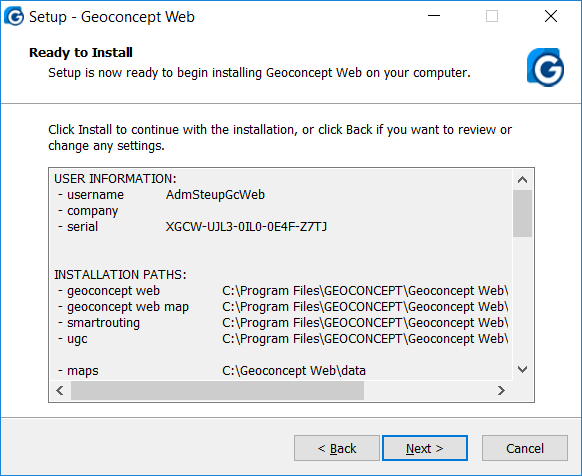
Click on to advance to the next step. In the next step, a summary of the components that will be installed is displayed, along with their destination disk location.
![[Tip]](images/community/docbook/tip.png) |
Tip |
|---|---|
|
If Tomcat, and/or PostgreSQL are already present on the installation machine, they are not installed by the wizard. You may need to refer to the corresponding sections in the chapter called Manual Installation to find out about how to configure them. |
Click on to run the installation.
- Custom installation: This installation mode allows you to modify the installation parameters. The different windows display the default set of parameters. If you are unsure, you can simply bypass the wizard steps by clicking on .
This step in the wizard consists of selecting the components to install.
The components available for installation are as follows:
- Geoconcept Web (this component must be included in any installation)
- Geoconcept Web Map: allows tiling of layers to display in the portal (this component must be included in any installation);
- SmartRouting: enables route calculation (including this component is recommended);
- Universal Geocoder: allows you to geocode addresses and generate reference tables (including this component is recommended);
- Data sample: install a projet example: Loire Atlantique;
-
Tools:
- Apache Tomcat;
- PostgreSQL;
- PostGis.
Each of these components can be installed by checking the associated check-box in the list displayed.
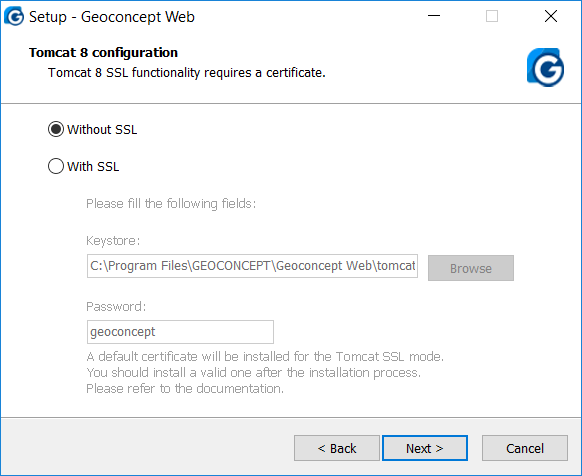
This installation mode allows you to accept or refuse SSL Certification and allows you to modify Location & Password
![[Warning]](images/community/docbook/warning.png) |
Warning |
|---|---|
|
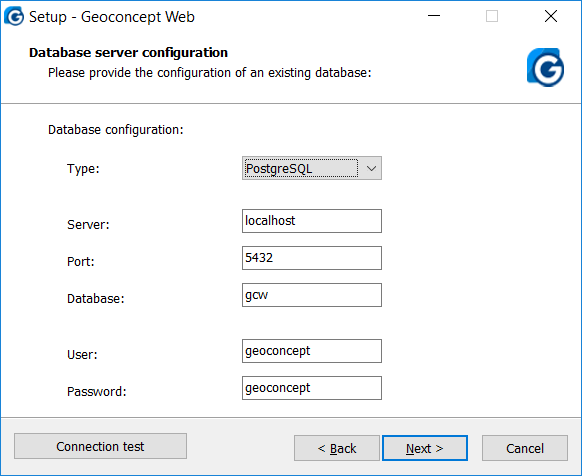
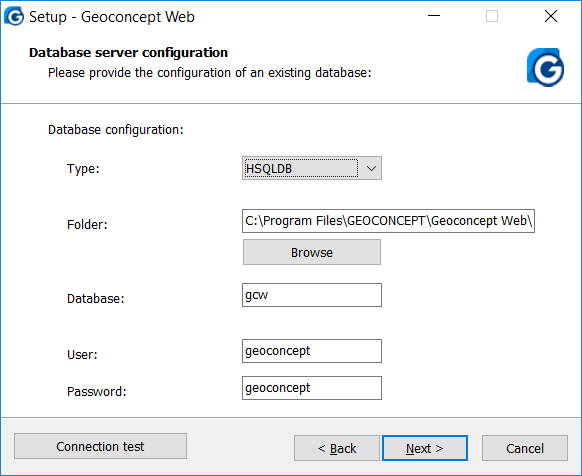
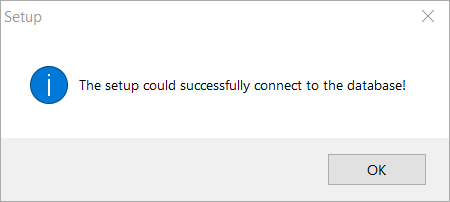
In the event that you want to use a different DBMS, uncheck PostgreSQL 9.3 in the list of components to install. An additional step will be necessary in order to configure the connection to a DBMS that is already installed. Clicking on , the installer tests the connection to the database indicated. If you have performed the installation with incorrect information relating to the database connection, you may have to correct this in the context file for the geoconcept-web.xml application, editing the file to enter the right information. |
![[Warning]](images/community/docbook/warning.png) |
Warning |
|---|---|
|
Database driver When using a database that is different to PostgreSQL, it will be necessary to copy the driver to use into the lib directory of Tomcat. For example: for an Oracle 11g database, the jdbc driver ojdbc6.jar is available in the installation directory of the database server The copy of the driver can be created at the end of the installation, and in this case you should not check the Start services now check-box during the final step. Once the driver has been copied, services can be run via the Windows services manager. |
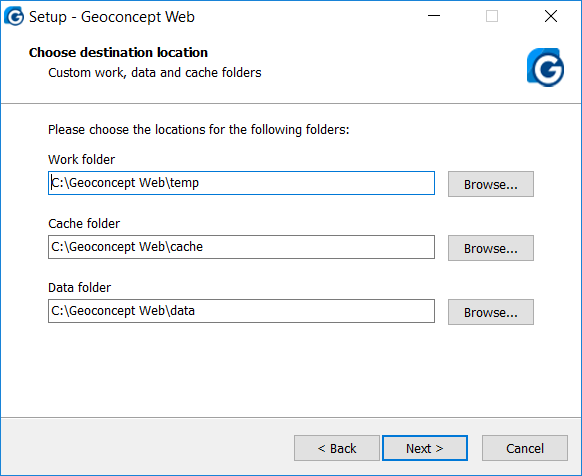
Installation directories for the Work and Cache folders
This additional step proposes to define the access filepath to the cache and work folders.
The button provides access to the step summarising the components that will be installed with their destination disk location.
Click on to run the Geoconcept Web installation.

