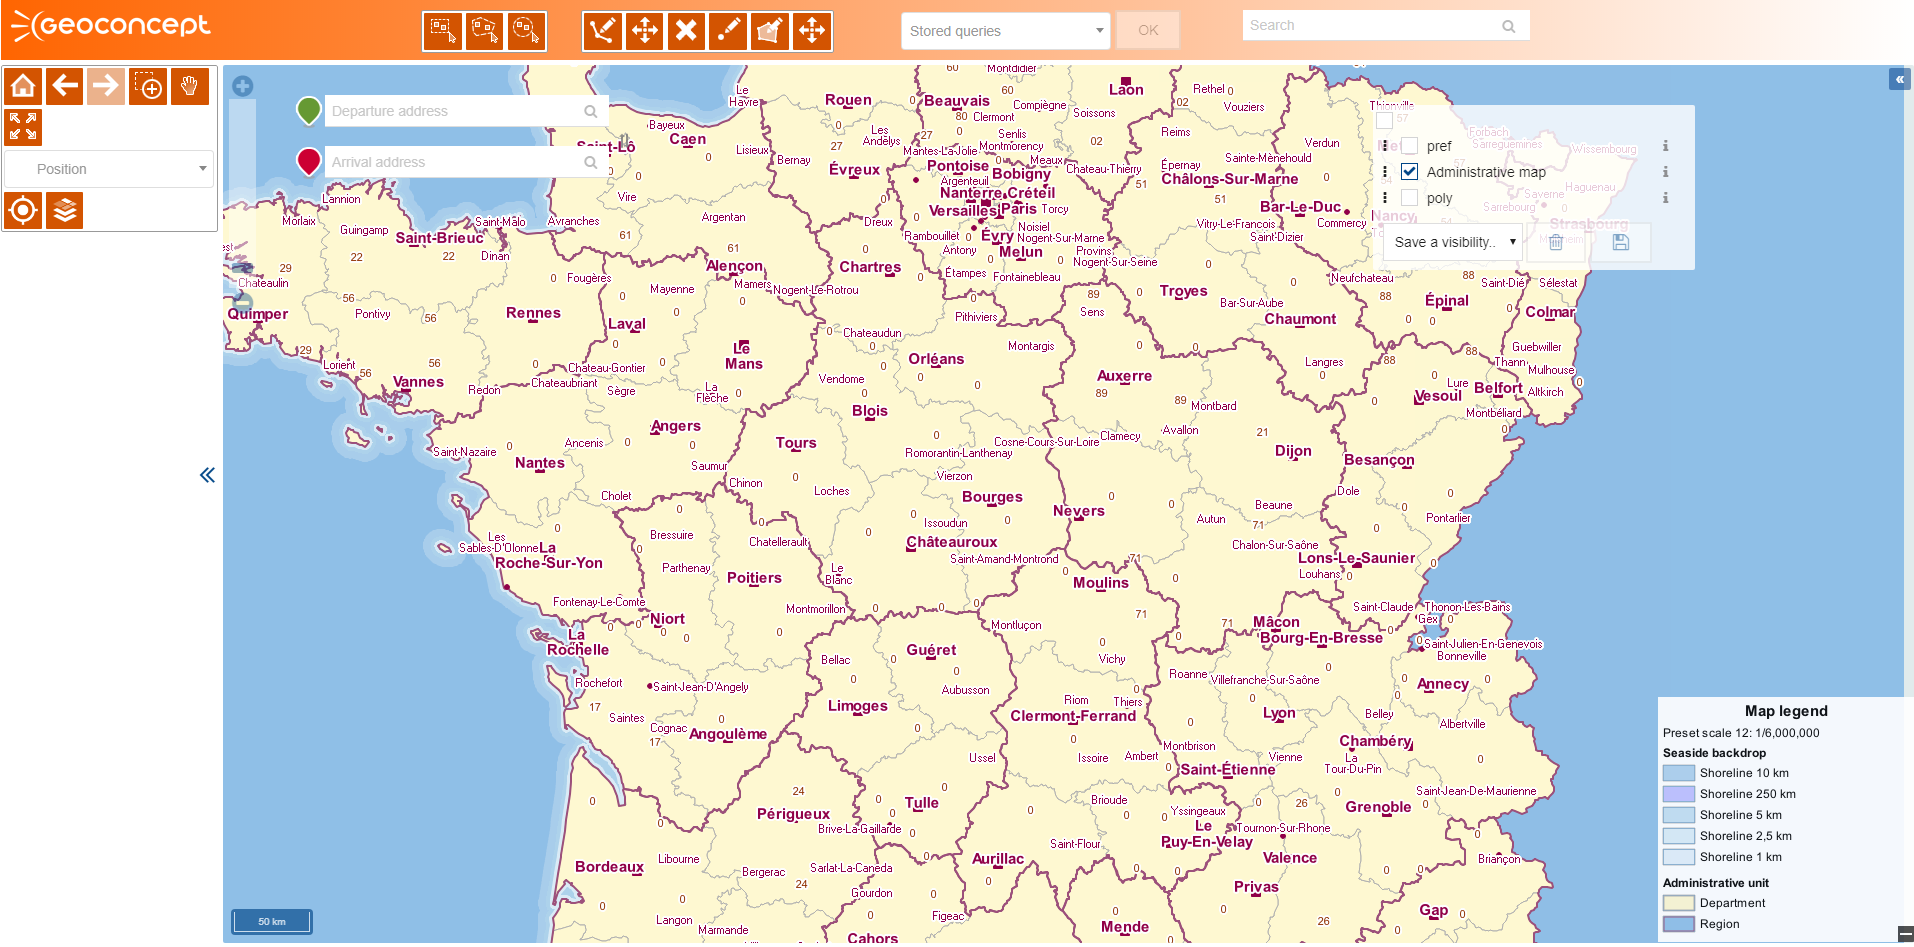
In Geoconcept Web, a number of pre-saved example styles are provided so the user can choose a style for their mapping portal easily and quickly, and then try it out to ensure it works. As explained in the “Skins section” the user can create their own graphic style by copying and pasting the elements they require from a CSS style sheet. Below is an example of a style sheet with some indications about the role of each of the parameters that can be adjusted. The user will then be free to change the values for colours they want to use depending on the desired appearance for their site.
#hd{
   /* default background colour, for all layout engines that don't implement gradients */
   background: #FF6501;

  /* gecko based browsers */
  background: -moz-linear-gradient(left, #FF6501, #FFFFFF);

  /* webkit based browsers */
  background: -webkit-linear-gradient( left, #FF6501, #FFFFFF);
}

.panel {
        border: solid 1px #666666;
        margin-right:9px;
        background-color:#FFFFFF;
}

/** header panel **/
.yui3-skin-sam.gcweb.gcui-skin .yui3-panel .yui3-widget-hd {
        background:none;
        background-color:#FF6501;
        color: #FDFEFF;
}

/** footer panel **/
.yui3-skin-sam .yui3-panel .yui3-widget-ft {
        background:none!important;
        background-color:#D35401 !important;
}

/******* RESPONSIVE MENU ***/
.gcweb .menu-button {
    background-color: #D35401;
}

.gcweb .menu-button .fa {
    color: #FDFEFF;
}

.gcweb .menu-link {
    border-right-color: #D35401;
}

.gcweb .menu-link .ui.list .item:active div {
    color: #FDFEFF;
    background-color: #FF6501;
}

.gcweb .menu-link .ui.list .item:active {
    background-color: #FF6501;
}

/******* WIDGET BUTTON PUSH ***/
.gcweb-widget-image {
        background-color:#D35401;
}

.ui.button.gcweb-widget {
    background-color: #D35401;
}

.ui.button.gcweb-widget.activated {
background-color: #9B3C01;
}

/** toolbar img **/

.gcweb-library-widget-icon {
        background-color:#D35401;
}
.activated,
.ui.image.gcweb-widget-image.mobile {
        background-color:#D35401;
}

#logo{
        height: 49px;
        width: 100%;
        margin-top:10px;
        float:left;
}

.logoPortal {
        background: url(../../../Image/showImage.do?name=logo_blanc) no-repeat scroll left top transparent;
}

.loading-panel-logo {
    color: #FFFFFF;
}

#loading_portal {
    background-color: #D35401;
}

/** Layer switcher **/
.layerSwitcherA {
        background-color:#FF6501;
}

.layerSwitcherTextA {
        color:#9acae1;
}

.layerSwitcherB {
        background-color:#D35401;
}

.layerSwitcherTextB {
        color:#3399CC;
}

.copyright {
    background: #D35401;
}

/******* WIDGET REPORT LIBRARY ***/
.yui3-treeview .yui3-treeview-treelabel.selected-leaf,
.yui3-treeview .yui3-widget.yui3-treeleaf.selected-leaf {
        background: none repeat scroll 0 0 #3399CC;
    color: #FFFFFF;
}
If you want to customise your Geoconcept Web portal Home page to include your own logo, you will need to follow these steps:
- load the logo for your company or your organisation into the 'Images' section,
- copy-paste the few lines of code shown below to the start of your CSS style sheet available in the 'Skins' section, replacing "logo_bleu" with the name of your image:
.loginBackground {
     background: url("../Image/showImage.do?name=logo_bleu") no-repeat scroll center 10%;
}
- finally, make sure that the style sheet created has been defined as being the 'default skin'.
Change the colour of the loading page before displaying the portal.
#loading_portal {
        background-color: #8CACC9;
}
In order to replace the standard display of widgets with round buttons 
.ui.button.gcweb-widget {
        background-color: #8CACC9;
        border-radius: 25px;
        padding: 0.3em 0.4em 0.3em 0.4em;
}


